NAME
App::GUI::Harmonograph - sculpting beautiful circular drawings
SYNOPSIS
start the program (harmonograph)
read this POD or check dialogs from help menu
move knobs and observe how preview sketch reacts til you got an interesting configuration
push "Draw" (Ctrl+D or below drawing board) to produce full image
choose "Save" in Image menu (or Ctrl+S) to store image in a PNG / JPEG / SVG file
choose "Write" in settings menu (Ctrl+W) to save settings into an INI file for tweaking them later
Please note that quick preview gets only triggered by the pendulum controls (section X, Y Z and R).
After first use of the program, a config file .harmonograph will be created in you home directory. You may move it into "Documents" or your local directory you start the app from.
DESCRIPTION
An Harmonograph is an apparatus with several connected pendula, creating together spiraling pictures :
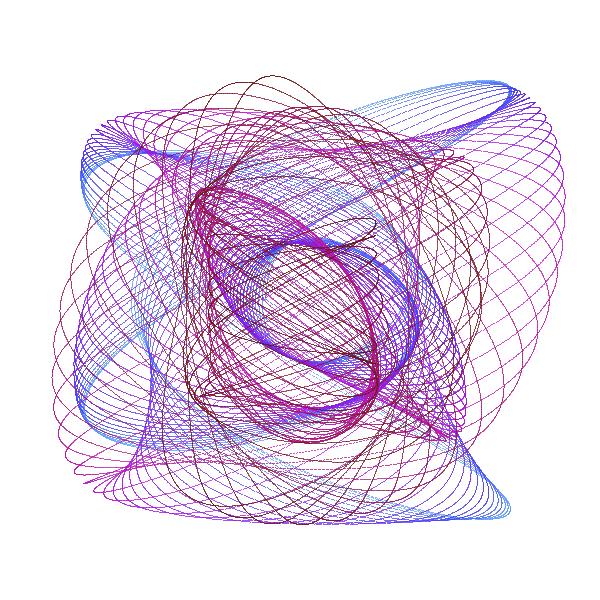
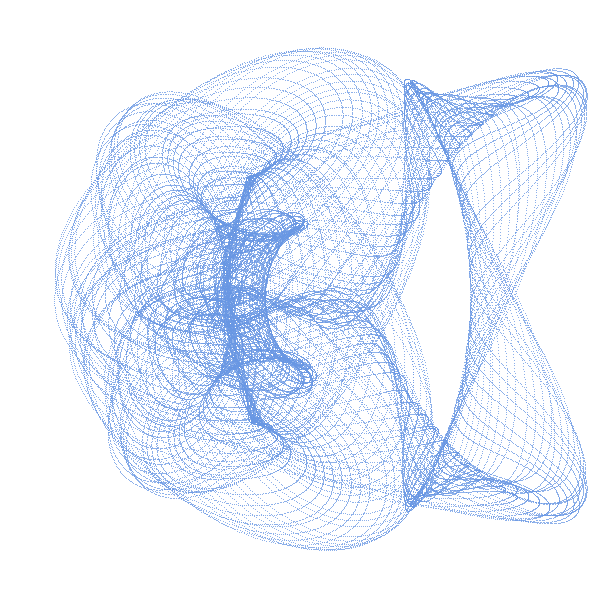
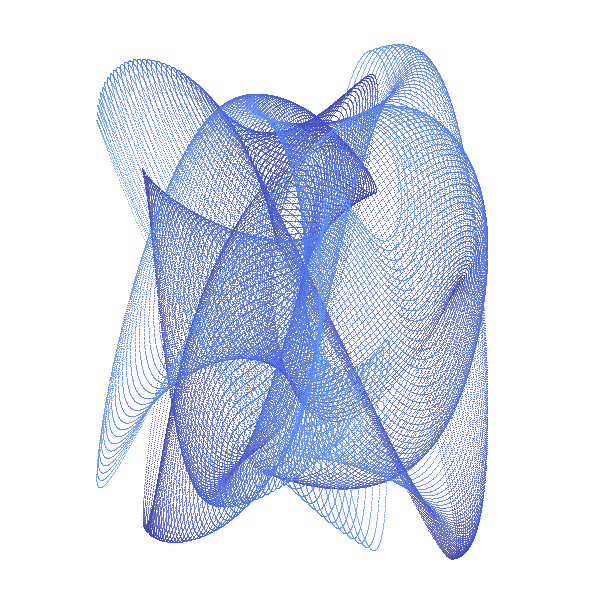
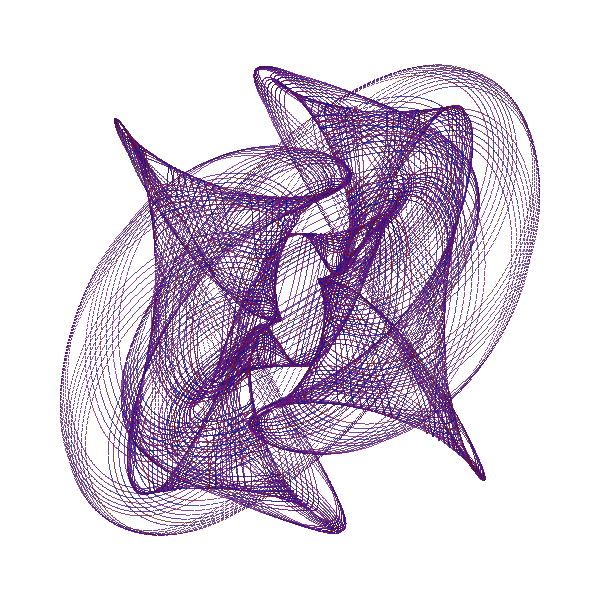
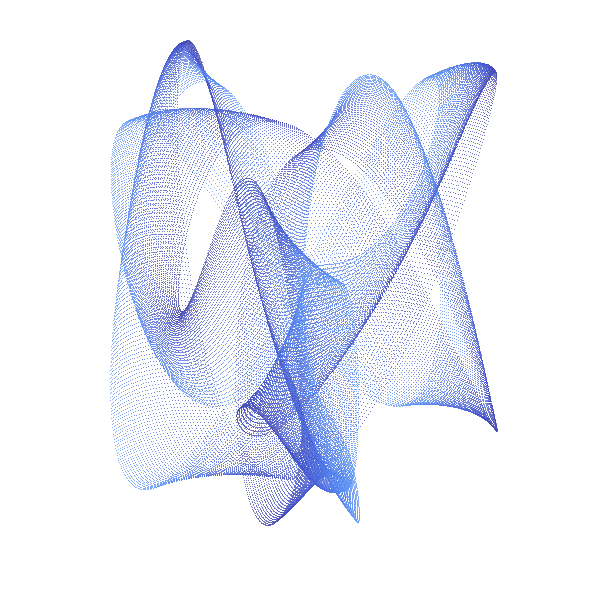
This is a cybernetic recreation of an Prof. Blackburns invention with several enhancements:
third pendulum can rotate
pendula can oscillate at none integer frequencies
changeable amplitude and damping
changeable dot density and dot size
3 types of color changes with changeable speed and polynomial dynamics
Mechanics
The classic Harmonograph is sturdy metal rack which does not move while 3 pendula swing independently. Let us call the first pendulum X, because it only moves along the x-axis (left to right and back). In the same fashion the second (Y) only moves up and down. When both are connected to a pen, we get a combination of both movements. As long as X and Y swing at the same speed, the result is a diagonal line. Because when X goes right Y goes up and vice versa. But if we start one pendulum at the center and the other at the upmost position we get a circle. In other words: we added an offset of 90 degrees to Y (or X). Our third pendulum Z moves the paper and does exactly the already described circular movement without rotating around its center. If both circular movements (of X, Y and Z) are concurrent - the pen just stays at one point, If both are countercurrent - we get a circle. Interesting things start to happen, if we alter the speed of of X, Y and Z. Than famous harmonic pattern appear. And for even more complex drawings I added R, which is not really a pendulum, but an additional rotary movement of Z around its center. The pendula out of metal do of course fizzle out with time, which you can see in the drawing, in a spiraling movement toward the center. We emulate this with a damping factor.
GUI

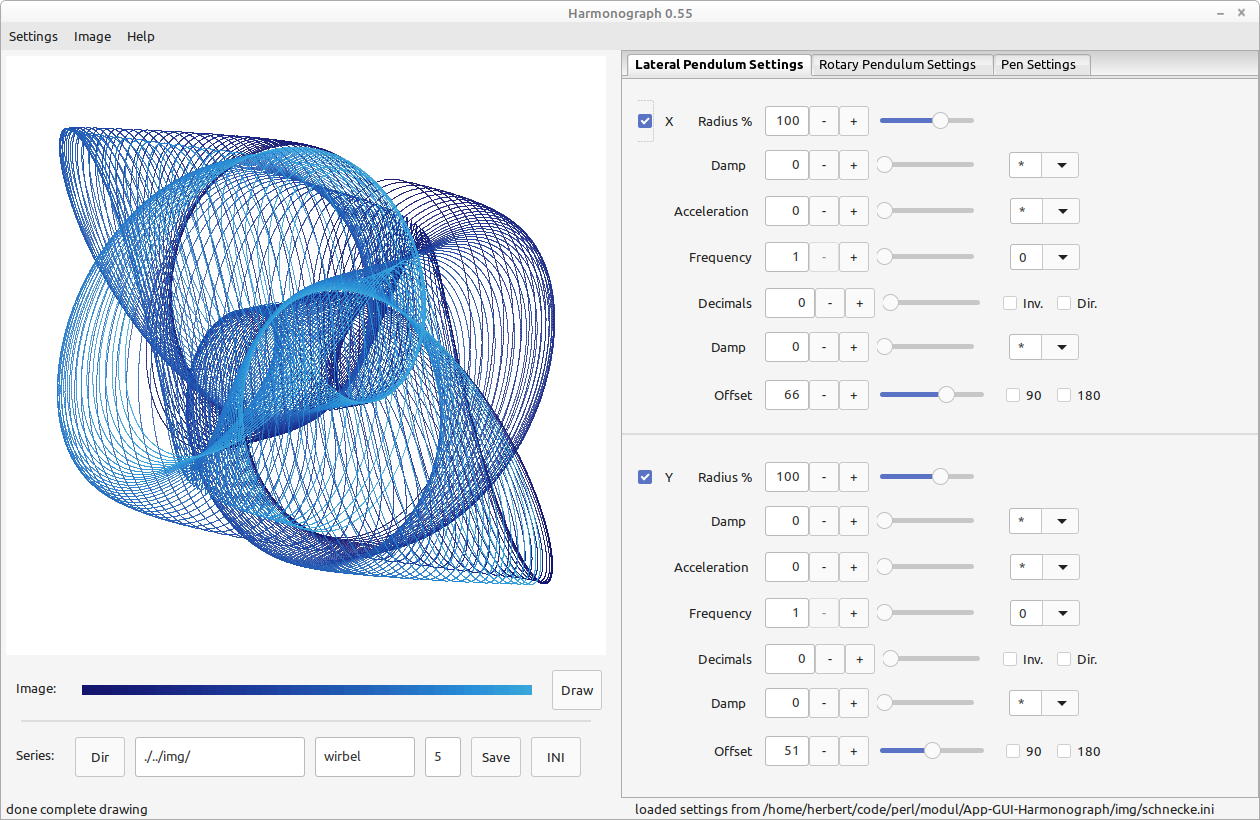
The general layout of the program has three parts, which flow from the position of the drawing board.
In the left upper corner is the drawing board - showing the result of the Harmonograph.
The whole right half of the window contains the settings, which guide the drawing operation. These are divided into two tabs - roughly devided in form and decoration.
The lower left side contains buttons which are a few commands, but most are in the main menu.
Please mind the tool tips - short help texts which appear if the mouse stands still over a button or slider. Also helpful are messages in the status bar at the bottom: on left regarding images and right about settings. When holting the Alt key you can see which Alt + letter combinations trigger which button.
Pendulum
The content of the first tab are the settings that define the properties of the 4 pendula (X, Y, Z and R), which determine the shape of the drawing. X moves the pen left - right (on the x axis), Y moves up - down, Z does a circling movement, R is a rotation ( around Z's axis). Each pendulum has the same three rows of controls.
The first row contains from left to ritght an on/off switch. After that follows the pendulum's amplitude and damping. Amplitudes define the size of the drawing and damping just means: the drawings will spiral toward the center with time (line length).
The second row lets you dial in the speed (frequency). For instance 2 means that the pendulum swings back and fourt twice as fast. The second combo control adds decimals for more complex drawings.
The third row has switches to invert (1/x) frequency or direction and can also change the starting position. 2 = 180 degree offset, 4 = 90 degree (both can be combined). The last slider adds an additional fine tuned offset between 0 and 90 degree.
Line
The second tab on the right side has knobs that set the properties of the pen. First how many rotations will be drawn. Secondly the distance between dots. Greater distances, together with color changes, help to clearify muddled up drawings. The third selector sets the dot size in pixel.
Colors
Below that on the second tab are the options for colorization and this has in itself three parts. Topmost are the settings for the color change, which is set on default to "no". In that case only the start (upper) color (below the color change section) will be used, and not the end (target) color (which is even below that).
Both colors can be changed via controls for the red, green and blue value (see labels "R", "G" and "B" ) or hue, saturation and lightness (HSL). The result can be seen in the color monitor at the center of a color browser.
An one time or alternating gradient between both colors with different dynamics (first in second row) can be employed. Circular gradients travel around the rainbow through a complement color with saturation and lightness of the target settings. Steps size refers always to how maby circles are draw before the color changes.
The third part on the second tab grants you access to the color store of config file .harmonograph. There you can store your favorite colors under a name and reload or delet them later. The upper row is for interactions with the sart color and the lower with the end color.
Commands
In the lower left corner are two rows of command buttons. All other commands are in the menu.
The upper row has only one button for making a full drawing. This might take some time if line length and dot density are high. For that reason - changes on the pendulum settings (first tab) (and only these) produce an immediate drawing to better understand the nature of your changes. In the interest of time, these are only sketches. For a full drawing that takes all settings into account you need to push the "Draw" button or Press Ctrl + D.
The second row has commands to quickly save many files. First push "Dir" to select the directory and then type directly into the secand text fiel the file base name - the index is found automatically. Every time you now press "Save" a file with the current image is saved under the path: dir + base name + index + ending (set in config). The index automatically autoincrements when changing the settings. Push "INI" next to it to also save the settings of the current state under same file name, but with the ending .ini.
Menu
The upmost menu bar has only three very simple menus. Please not that each menu shows which key combination triggers the same command and while hovering over an menu item you see a short help text the left status bar field.
The first menu is for loading and storing setting files with arbitrary names. Also a sub menu allows a quick load of the recently used files. The first entry lets you reset the whole program to the starting state and the last is just to exit (safely with saving the configs).
The second menu has only two commands for drawing and saving an complete image in an arbitrary named PNG, JPG or SVG file (the file ending decides).
The third menu has some dialogs with documentation and additional information.
AUTHOR
Herbert Breunung (lichtkind@cpan.org)
COPYRIGHT
Copyright(c) 2022 by Herbert Breunung
All rights reserved. This program is free software and can be used and distributed under the GPL 3 licence.